Edwards…Pt. II
Several years ago, we were hired by the homeowners on Edwards Avenue to address a few relatively major structural issues with the home, which had been recently purchased for the purpose of renovating and serving as their retirement ‘forever’ home (previous blog here). The gist of the initial repairs involved replacing several large headers above a wide array of windows, and installing about 20 LVL’s to sister along the existing joists in the living room to reduce some fairly significant deflection. (See previous blog, ‘The Edwards’). The repairs were extremely successful—likely adding another 100-150 years to an existing Lakewood century home.
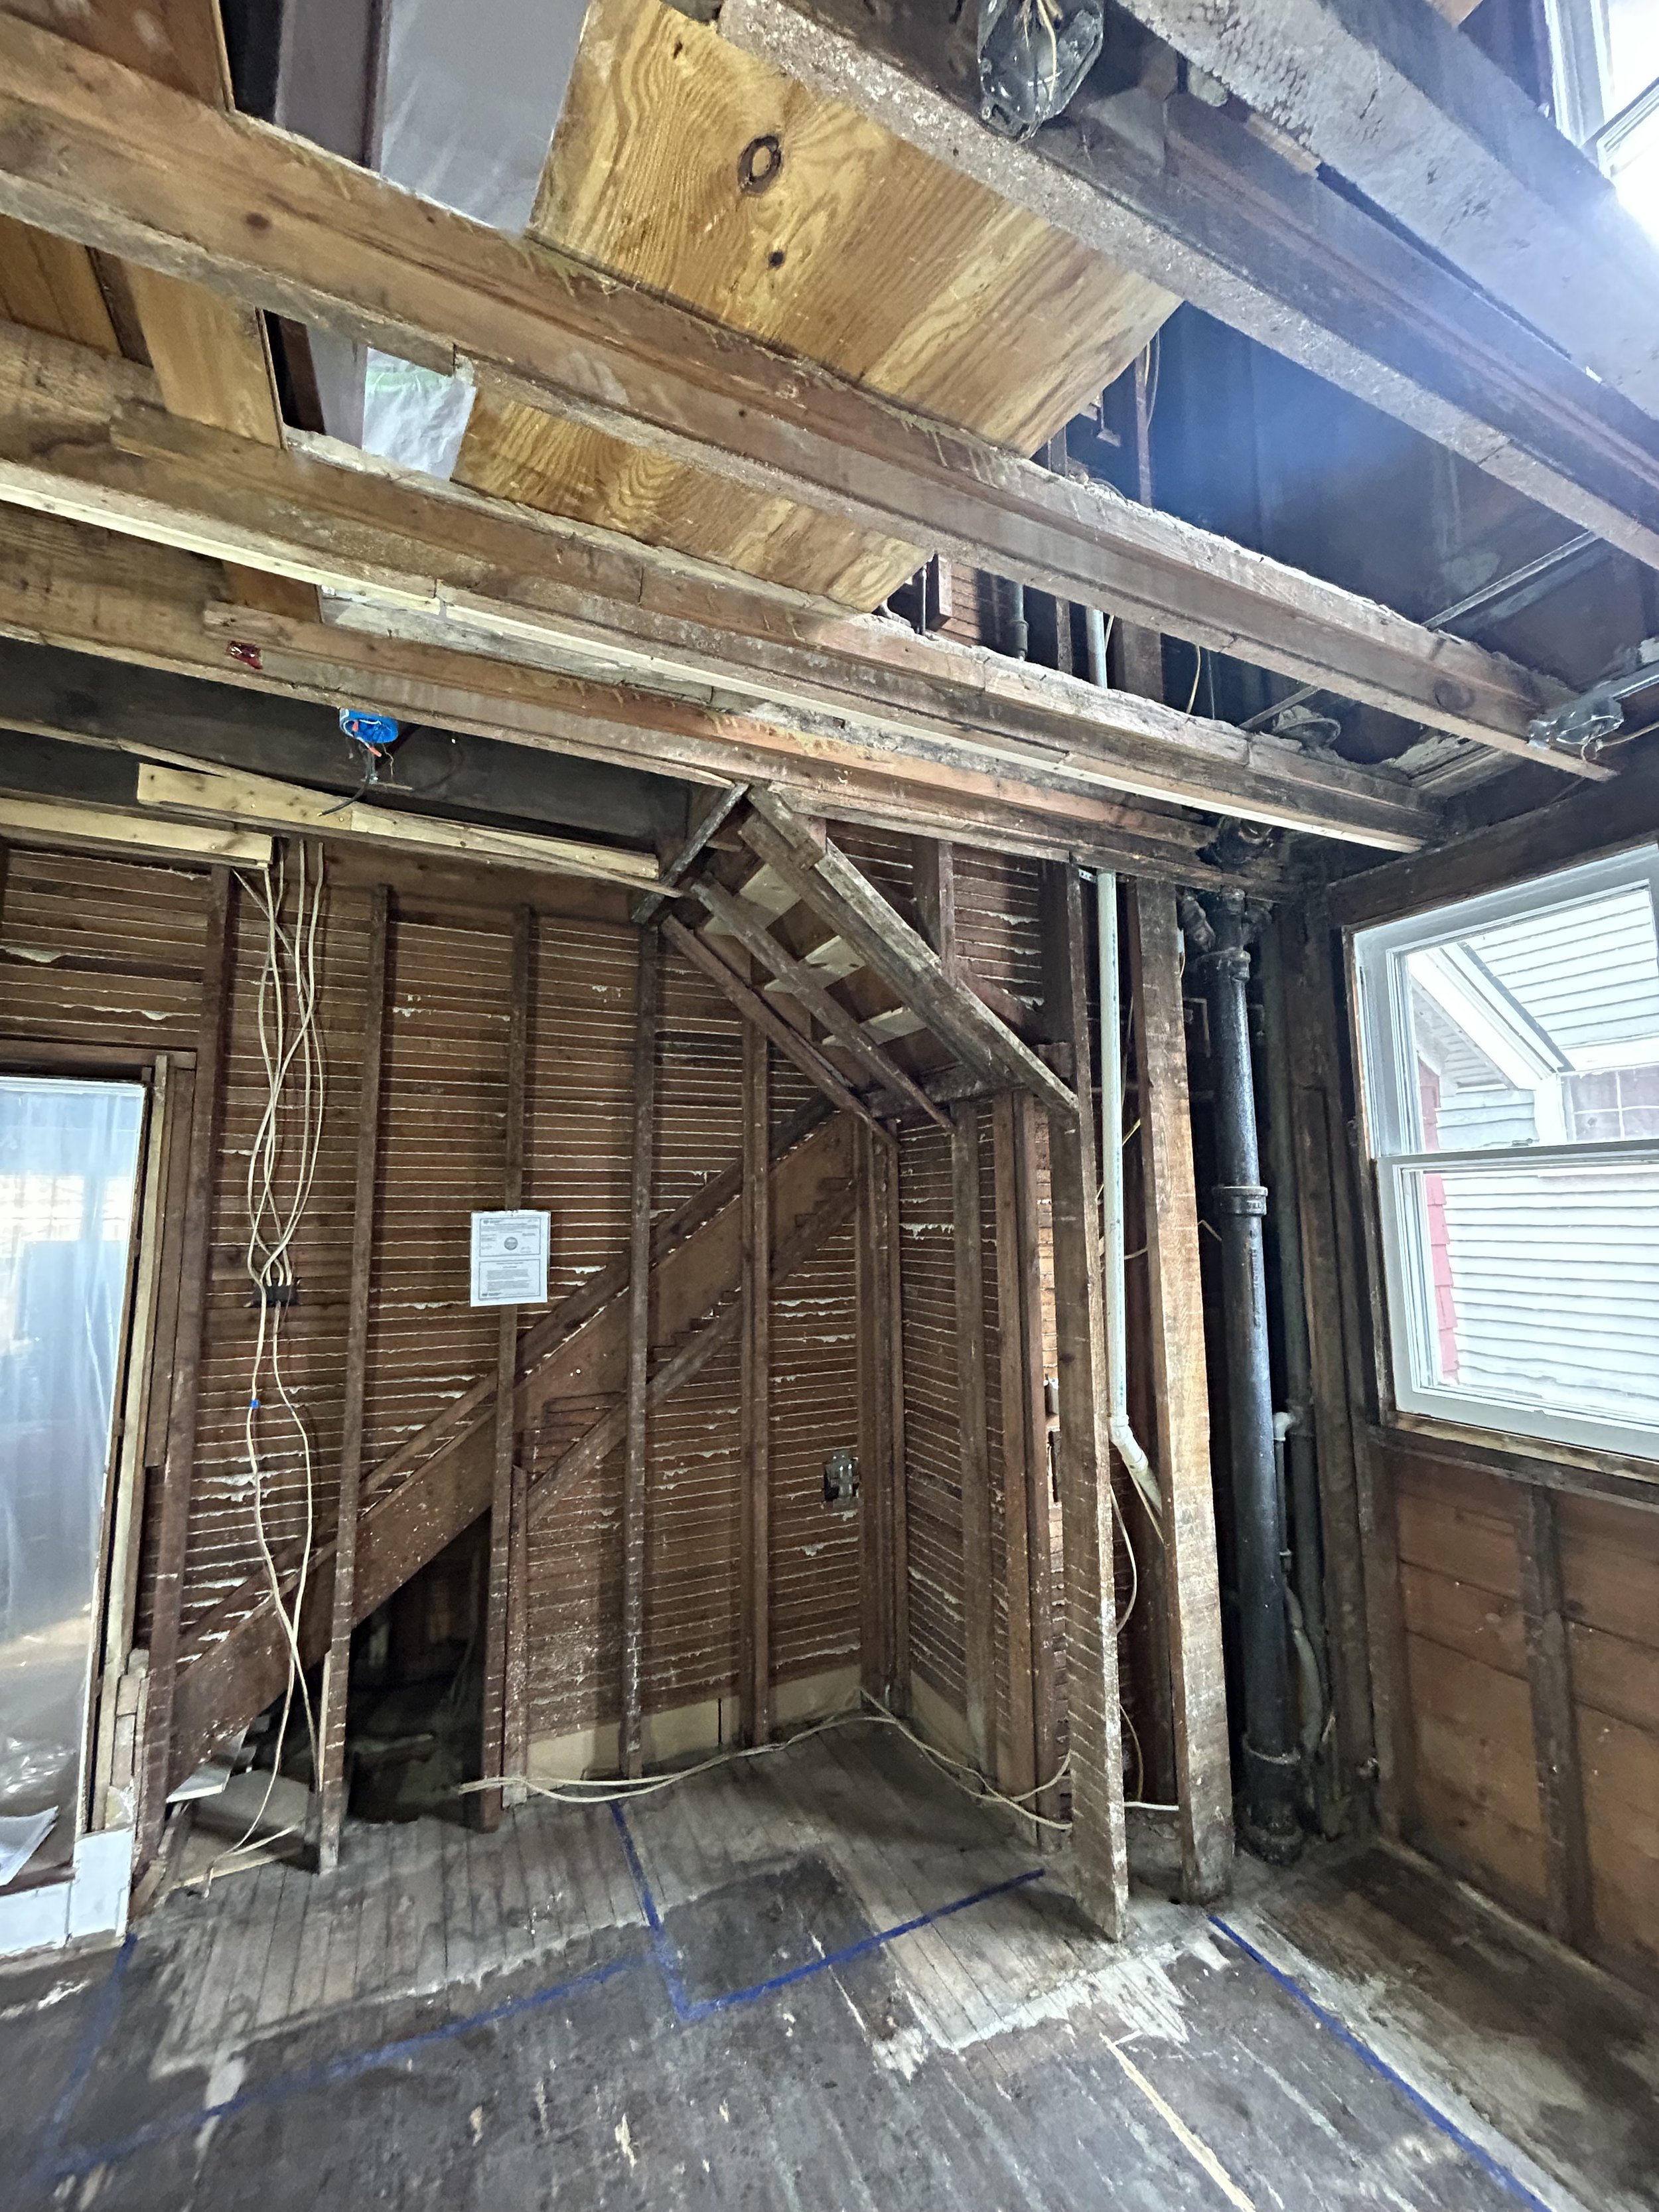
Late last year, 2023, we were called back to renovate other large portions of the home: the kitchen, main bathroom, utility room and secondary bathroom. The client opted to complete the demolition and painting themselves, and requested to carry out the trim work as well (baseboards, casing, plinths; etc.) Once an estimate was proposed, we scheduled the project to begin early 2024 and finished in about four months. The following photos illustrate much of the ‘before’ work leading up to plumbing drains and lines, electrical, subfloors and drywall.
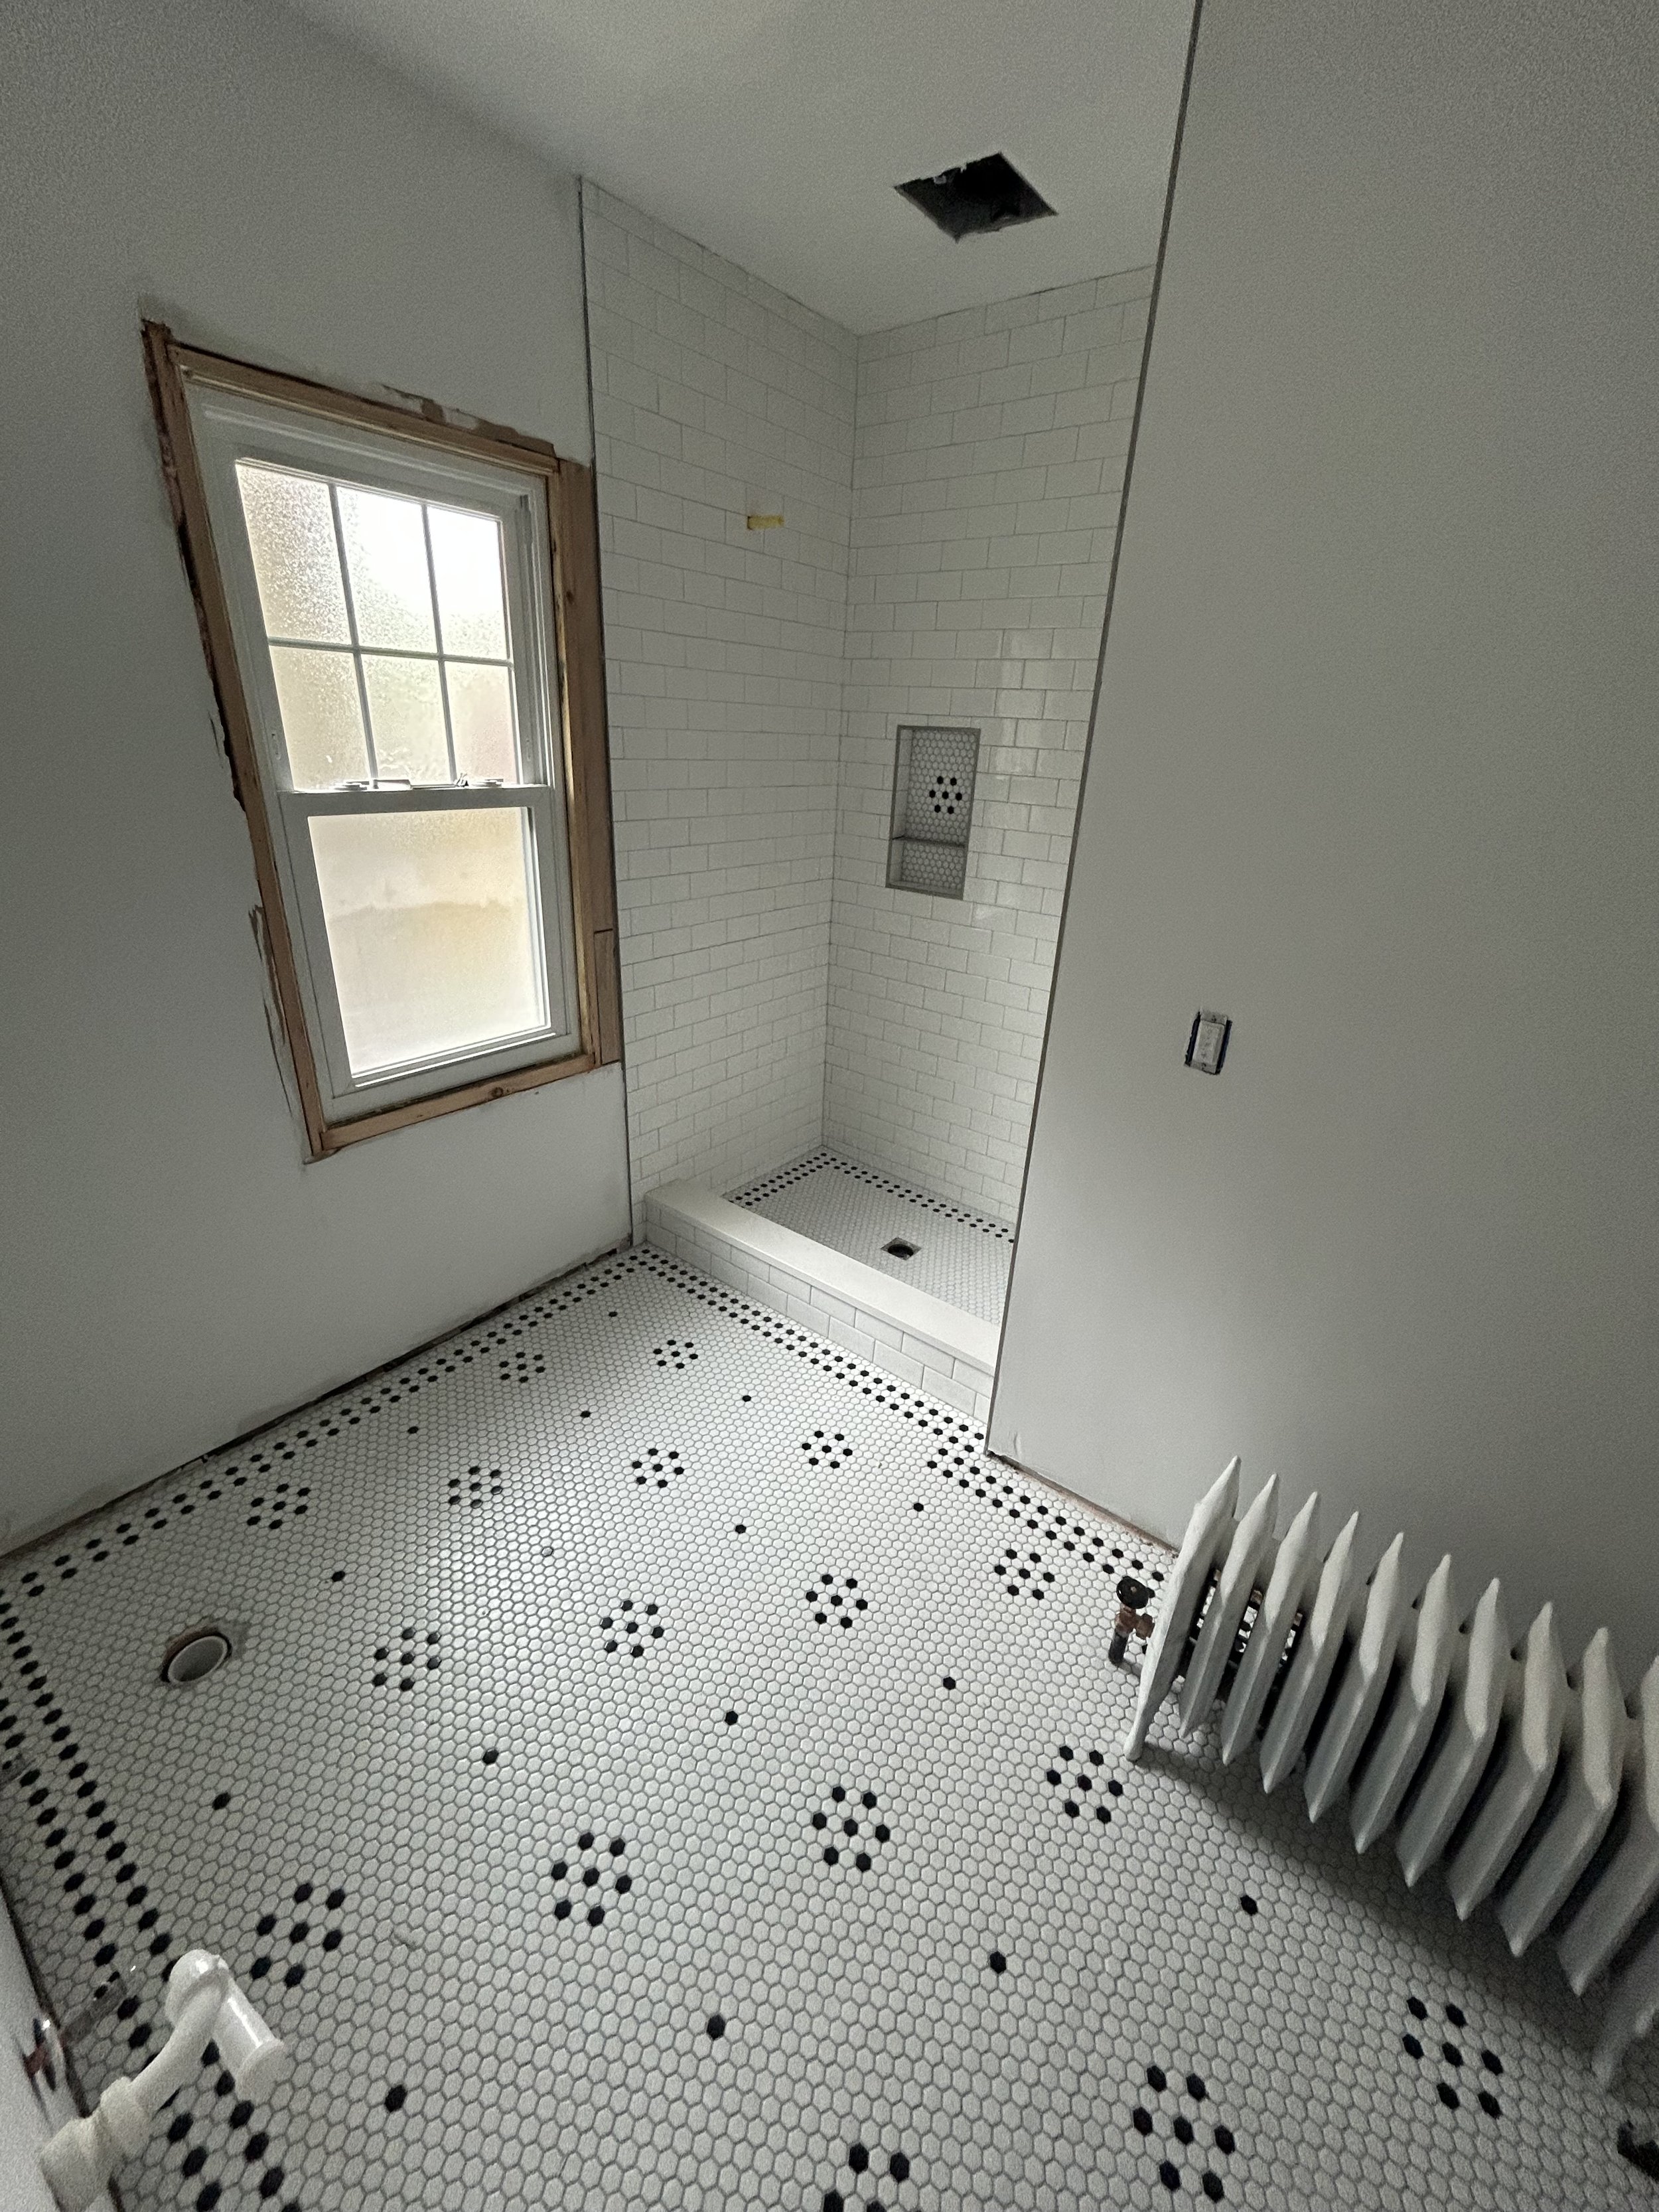
After plumbing, electrical, insulation, drywall and subfloors were installed and finished, it was time to install Schluter DITRA uncoupling membranes and waterproofing for the tile work in both bathrooms. The kitchen cabinets were also ready to install while the countertops were on their way. Blueprints for tile patterns were carefully drafted by the homeowners. An incredible amount of time was invested to achieve historical accuracy and visual continuity with the bathroom floors and showers. Photos of the secondary bathroom below were taken before final renovations were complete, and show relative progress from waterproofing to tile setting.
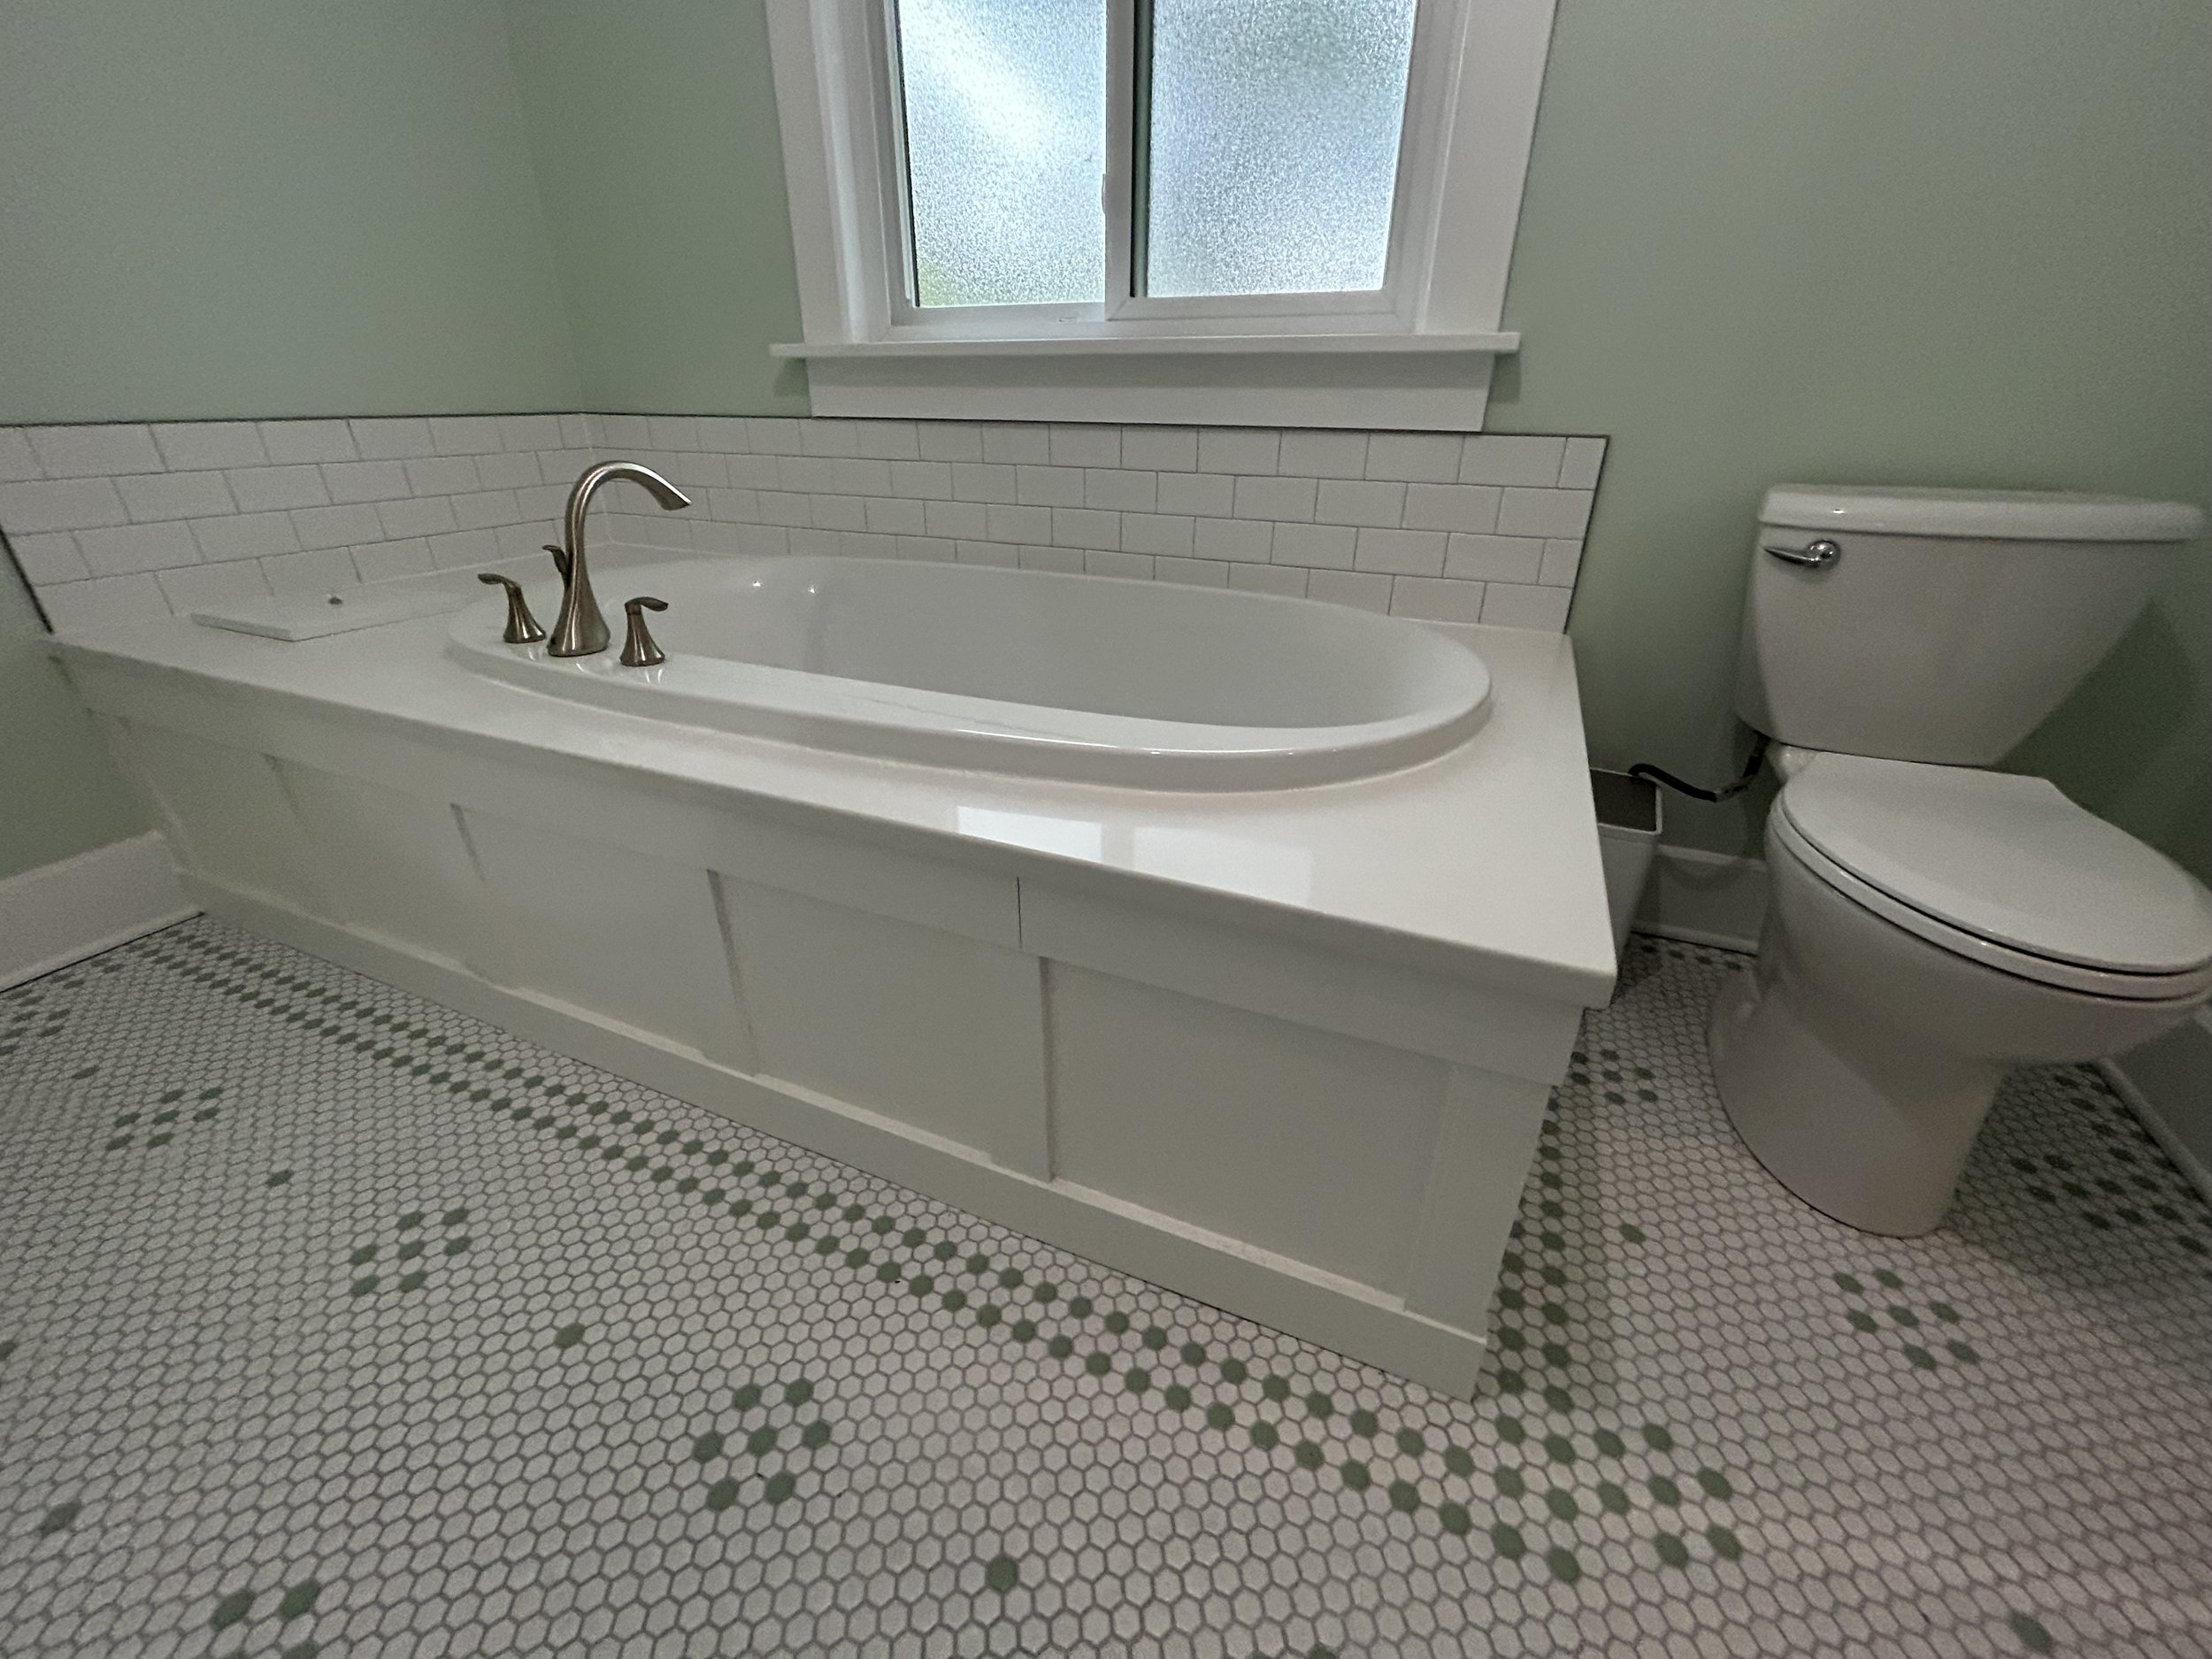
The master bathroom posed several challenges—careful planning was necessary to ensure plumbing drains would align with fixtures which would allow for maximum floor space. After all, a drop-in bathtub, shower, 60” double sink vanity and toilet needed to fit in a room which was roughly 7’ x 14’. The framing for the tub was assembled and installed, and the drop-in tub was dry-fit to ensure a perfect fit.
Drop-In Tub ‘Rough-In’
A large portion of the room was dedicated to a large drop-in tub; it was also required to center the tub with the window as much as possible while ensuring there would still be enough space for the toilet (right of tub; not shown).
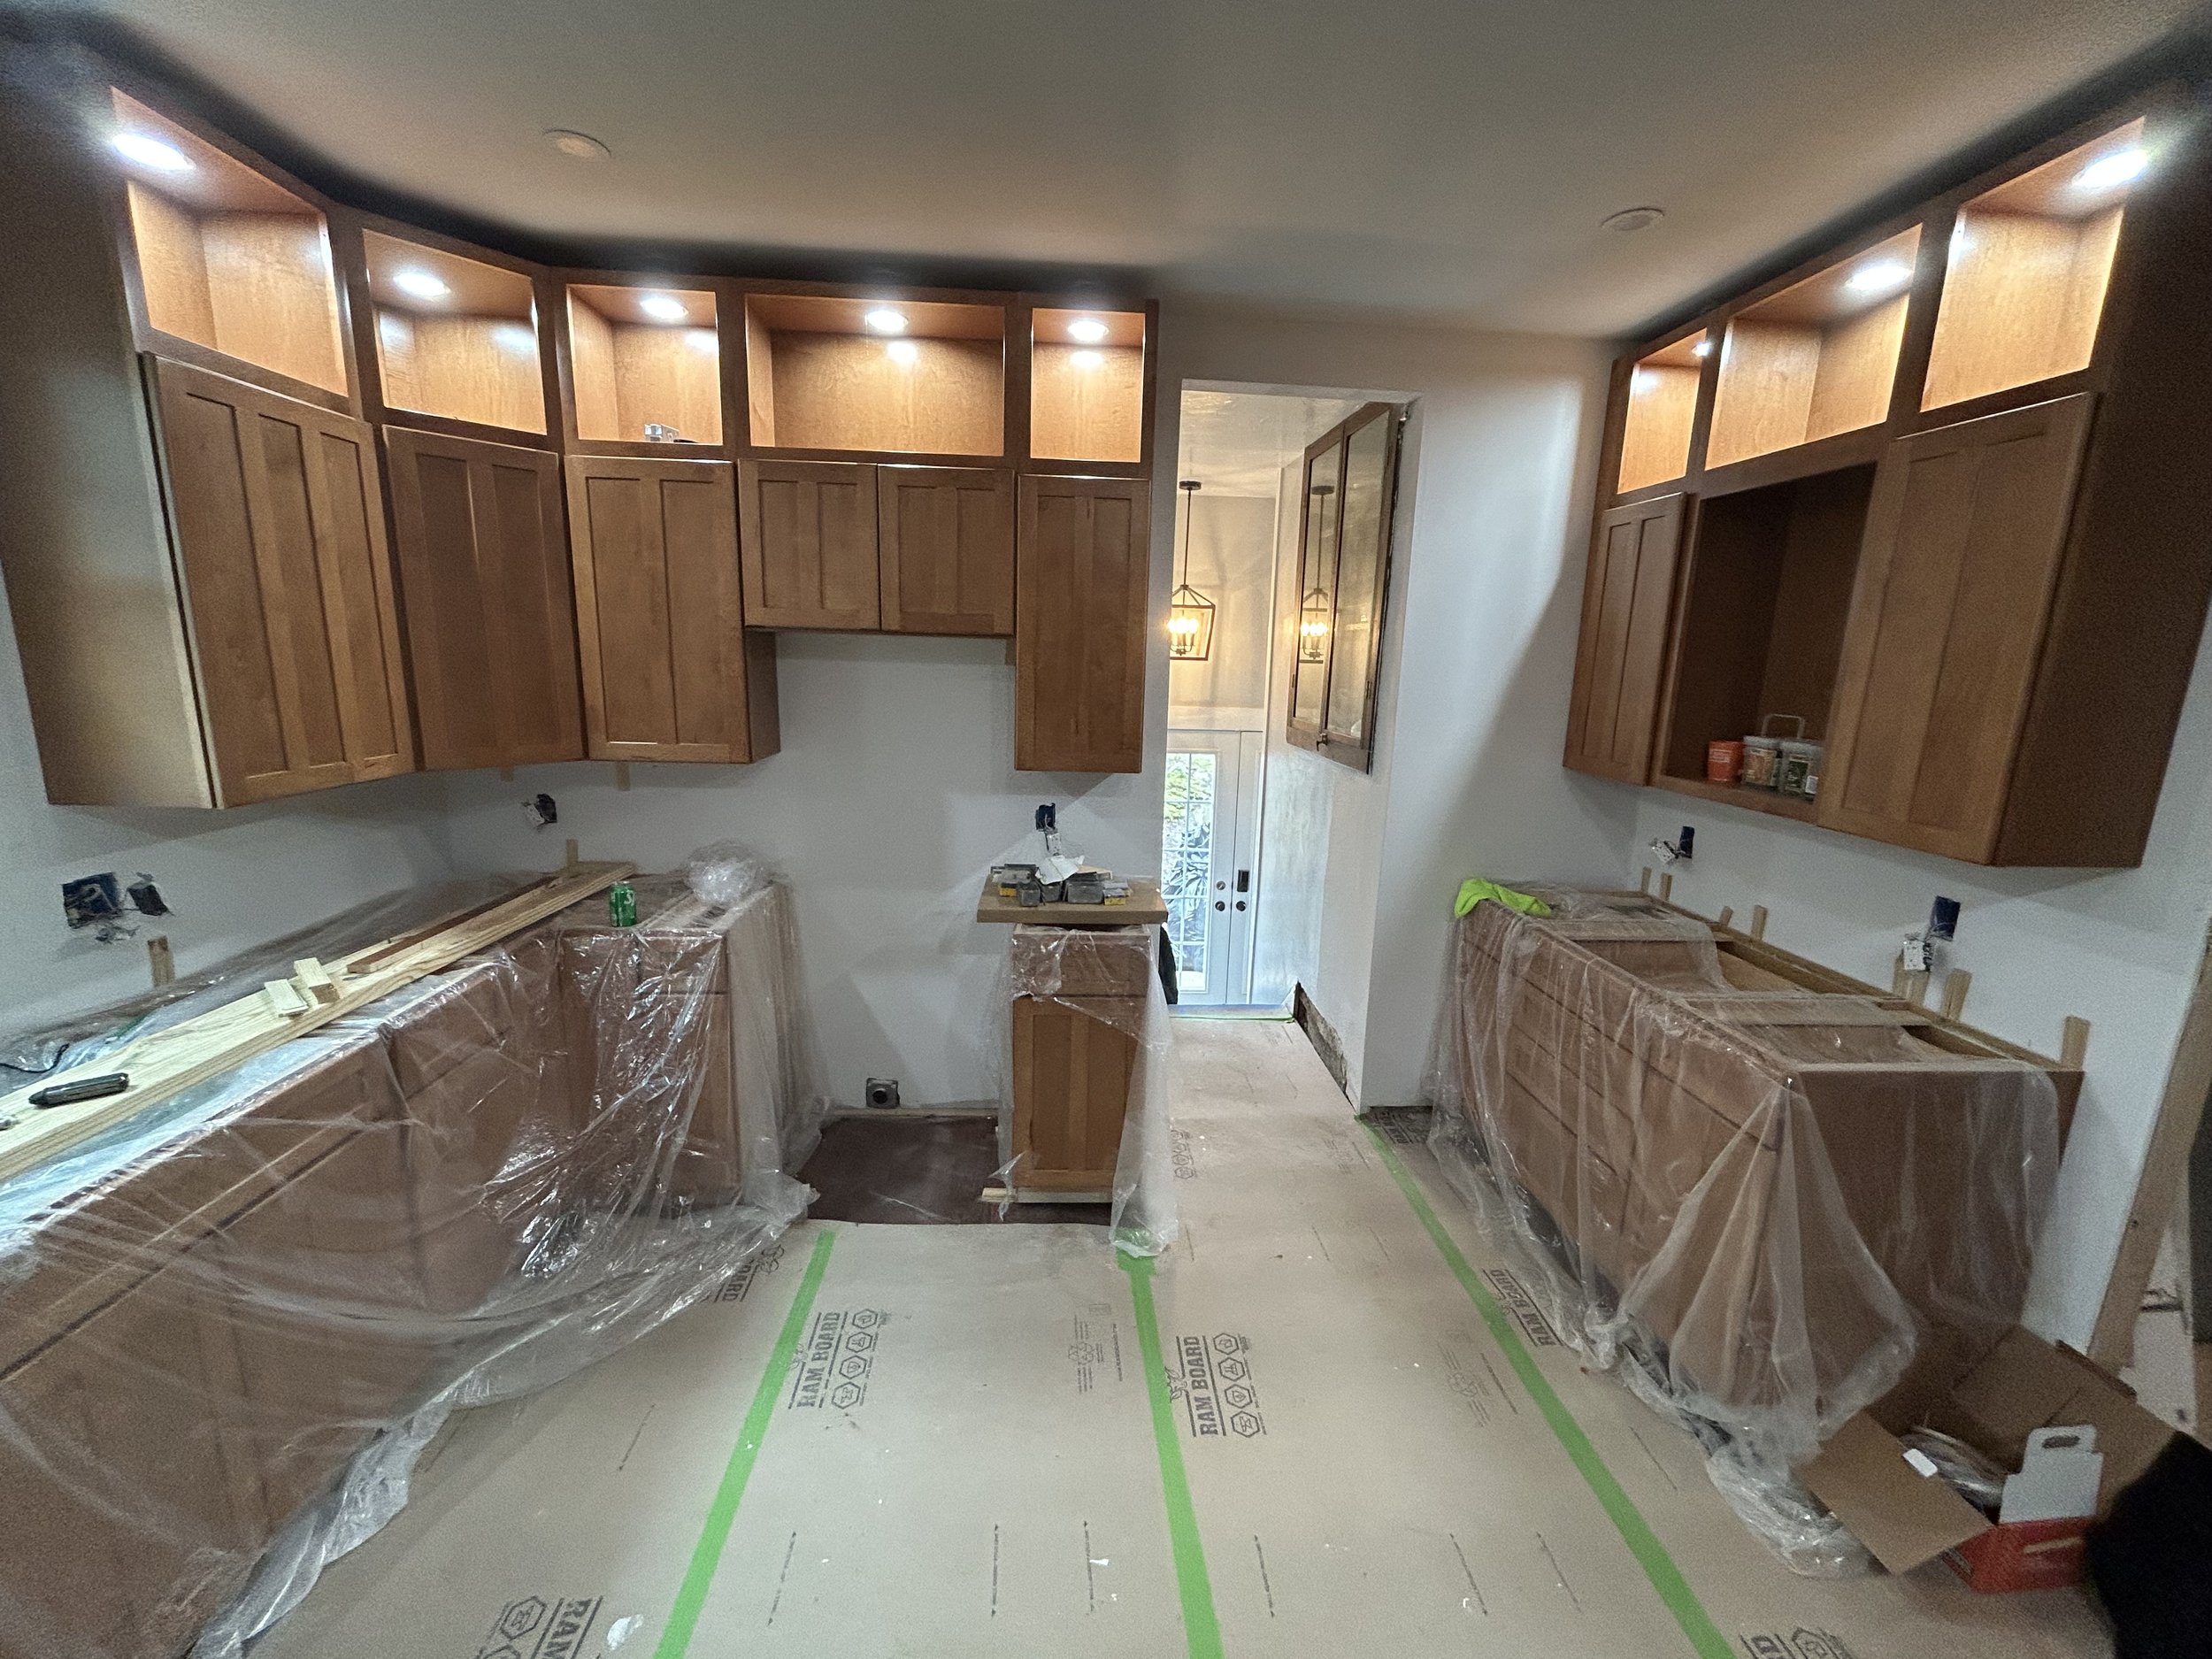
Shifting gears to the kitchen, base cabinets and 51” tall upper wall cabinets with third-row lighting were installed. In historical homes, existing floor joists often experience natural settling, and will cause the hardwood flooring under the cabinets to experience dips and peaks in certain corners of the room. As such, the base cabinets must be perfectly leveled with the aide of shims, ledgers, and lasers. Additionally, countertops must be able to rest on a level and flat plane as to ensure the stone does not crack with age or weight.
Kitchen Progress
Finally, the finishing touches were added which included beautiful trim work which perfectly matched the existing baseboard and door casing found throughout the dwelling. Plinth blocks which are used as transition pieces between baseboards and door casing were also handcrafted, stained and coated by the homeowner. The wall color selections and paint work were also additionally done by the homeowner. Below are photos of the final primary bathroom renovation.
The kitchen also now serves as a functional and beautiful space that will last for many, many years to come...
Final Kitchen Renovation
Includes stained red cedar hardwood floors, red cedar baseboards and trim, hardwood cabinets, third-row storage and lighting, and soft-close drawers and quartz countertops.
Left View; Final Kitchen
L-shaped layout provides both maximum floor space and storage.
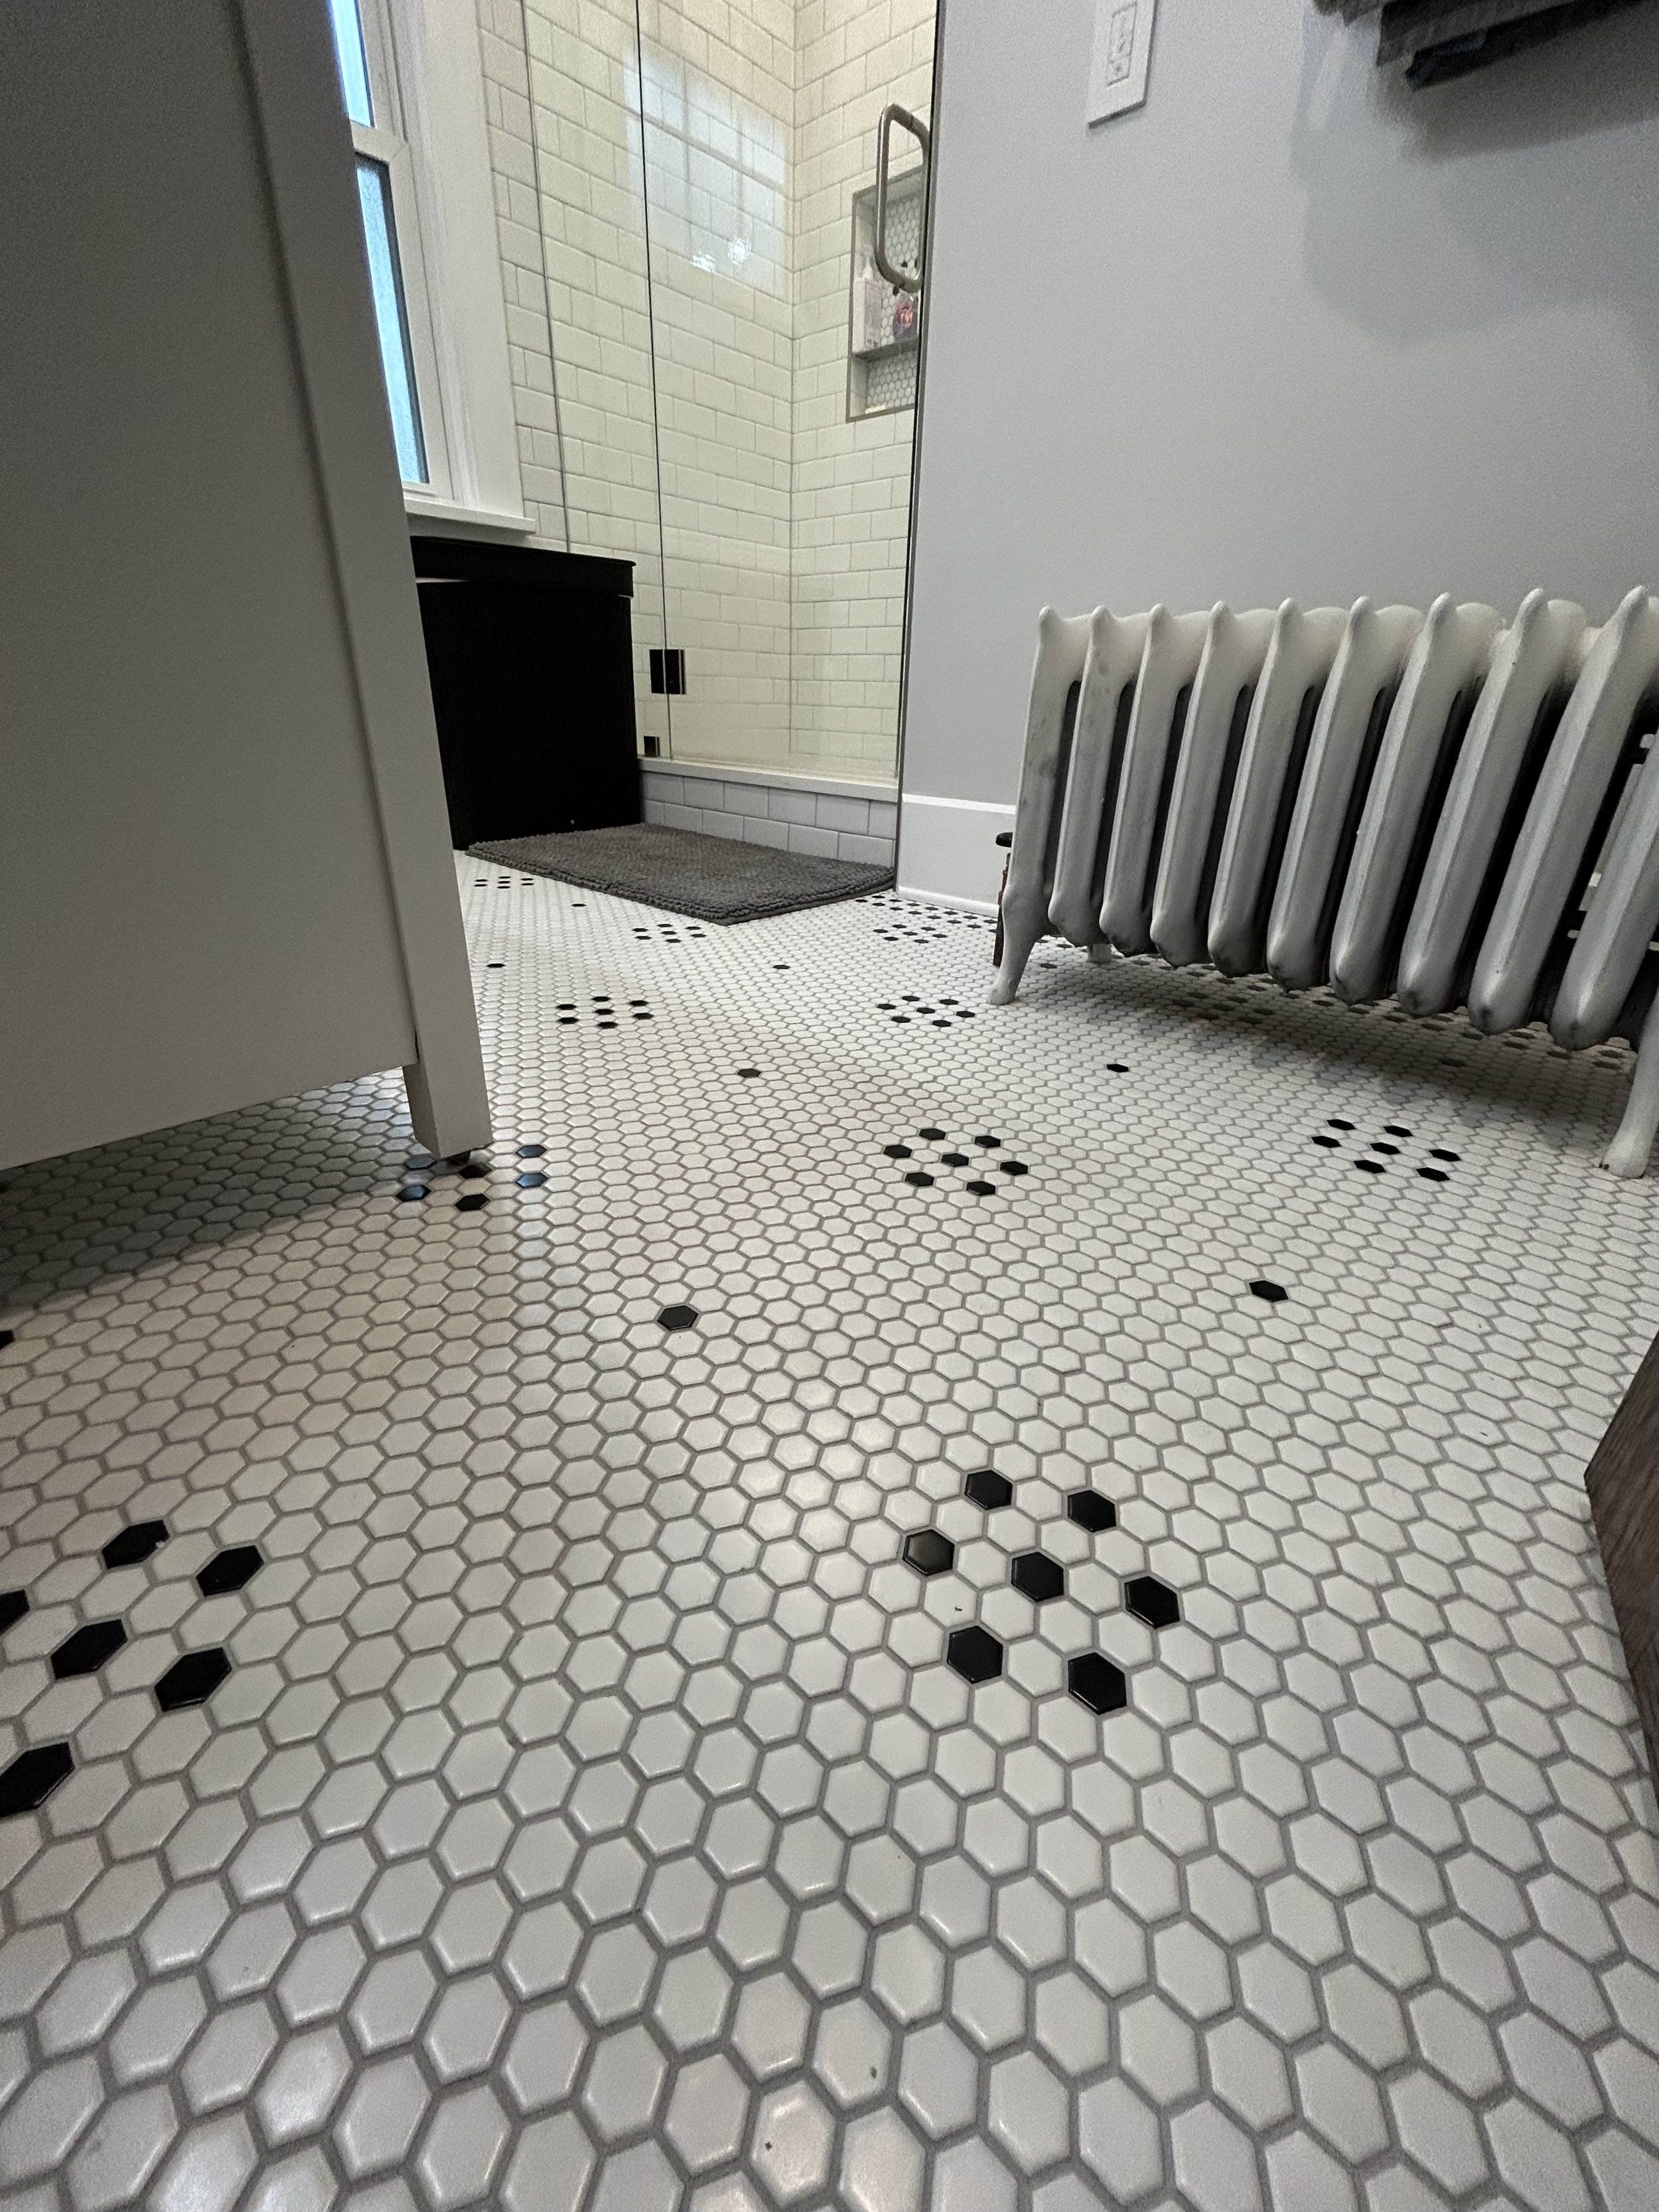
The secondary bathroom (similar to the primary bath) also features an original boiler radiator which needed to be relocated. Before drywall and subfloors were installed, the rough-in plumbing work needed to be installed accurate to 1/8” to ensure the radiators would fit in their new respective spaces. These were also installed before the tile was installed to prevent tiles from cracking or chipping under the extreme weight of the radiators. As such, each small hexagon tile was meticulously cut to fit around each radiator foot.
Secondary bathroom; radiator and tile floor
All things considered, this was one of the largest and most involved projects we’ve done—and still no major hiccups whatsoever. The entire project from start to finish took about 4 months not counting demo, paint or trim work. The plumbing took several weeks, and the tile work took up the majority of the time. Overall, the entire renovation was a huge success that the family will be able to enjoy for years to come!

